Laura was my first roommate in college. We lived together for two and a half years, until we each spent a semester off of campus. We are very different but we just kind of clicked. I was very fortunate to have her as my "roomie." We still call each other that even though we haven't lived together for almost ten years.
Laura asked me to make the groom's cake for her wedding. Now it has come to my attention that many people don't know what a groom's cake is. It is more of a southern tradition now (Laura is from Texas), but it started in Victorian England. Back then, they would cut the groom's cake and give slices to the bridesmaids. If the bridesmaids slept with the cake under their pillow (um, gross??) they would dream of the man they would marry. Now I'm not a big fan of the bouquet toss, but this tradition seems a bit messier.
Now it is more of a chance to give the groom something at the bride-centric wedding. It is usually a more "fun" cake than the more traditional wedding cake and tends to showcase something about the groom. If you are curious, here is some more info on the subject.
Laura told me that Joel, her groom, was a big fan of Minnesota and especially the woods and canoeing. Something along those lines would be great.
So I decided to be extremely adventurous. The cake would be Laura and Joel, in a boat of some sorts, rowing down a river, through the woods.
Yikes. People are hard and I was going to make them for someone's wedding!?!?!?!? Crazy.
So naturally I started with the trees. I found an awesome tutorial that made it super easy. You start out by rolling some green fondant into a shape like this:

Then you take scissors and make small little snips into the cone. The tutorial said to use curved scissors, but since the only ones I had were used nail scissors, I thought that was a bad idea. I just used small scissors instead. Either way works.

The tutorial also said to put a stick into the cone before cutting. But I wasn't planning on putting the trees on the cake until I brought it to the wedding in a few days. So I didn't stick anything in the cones. I just cut some parchment paper and put them on that so they didn't have to sit on my hand while I cut the snips. I made a few different sizes.

Pretty snazzy!
Next I had to make the boat. I decided to go for a rowboat type shape. I used chocolate fondant and gum glue. You can see the plastic wrap under the planks. They are there to help it dry in the correct shape and not fall down.

In retrospect, I should have made the boat a little bit bigger . . . .
I made the boat a few days in advance so it would dry before I put the people in it. The day before the wedding, I made "Laura" and "Joel."

There are a lot of good tutorials out there for people. I didn't want to make them too realistic because I knew it wouldn't look very good. So I went with a slightly cartoonish figure. First I started with the bride's legs. Then I made the body without the arms.

I wrapped the body in white, then added the arms. The body was on a toothpick so I could add the head on later.

I made some shoes and put the legs into the boat. Now I should have flattened the legs where they are on the bench, but I didn't.

Next came the skirt. This was unbelievably hard to get in there. I should have wrapped it around the legs before putting it on the boat. But it turned out ok.

Next I added the body and a sash to connect the top of the dress to the bottom. Those hands look pretty good!

Again, looking back, I should have made the body lean forward. You'll see why later.

Again I put the feet in first and I should have flattened it on the bench. But I didn't. I added the body without the arms.

Here you can glimpse the coattails in back. And also now Laura's head is attached. It's really hard to make these fondant people proportional . . .

And then the arms. You can start to see the problem here. The bodies and heads were very heavy, so they started to lean backwards.

They were just trying to balance out the boat, right?

Then I had to make Laura's hair. I wrapped yellow fondant around a toothpick to get this look.

Joel's hair and beard were a littler harder. It's difficult to make hair look realistic and not completely ridiculous.

I was trying to make it look the way he actually wears his hair. Not really sure if I succeeded. But it works.

The eyes look kind of creepy without the irises.

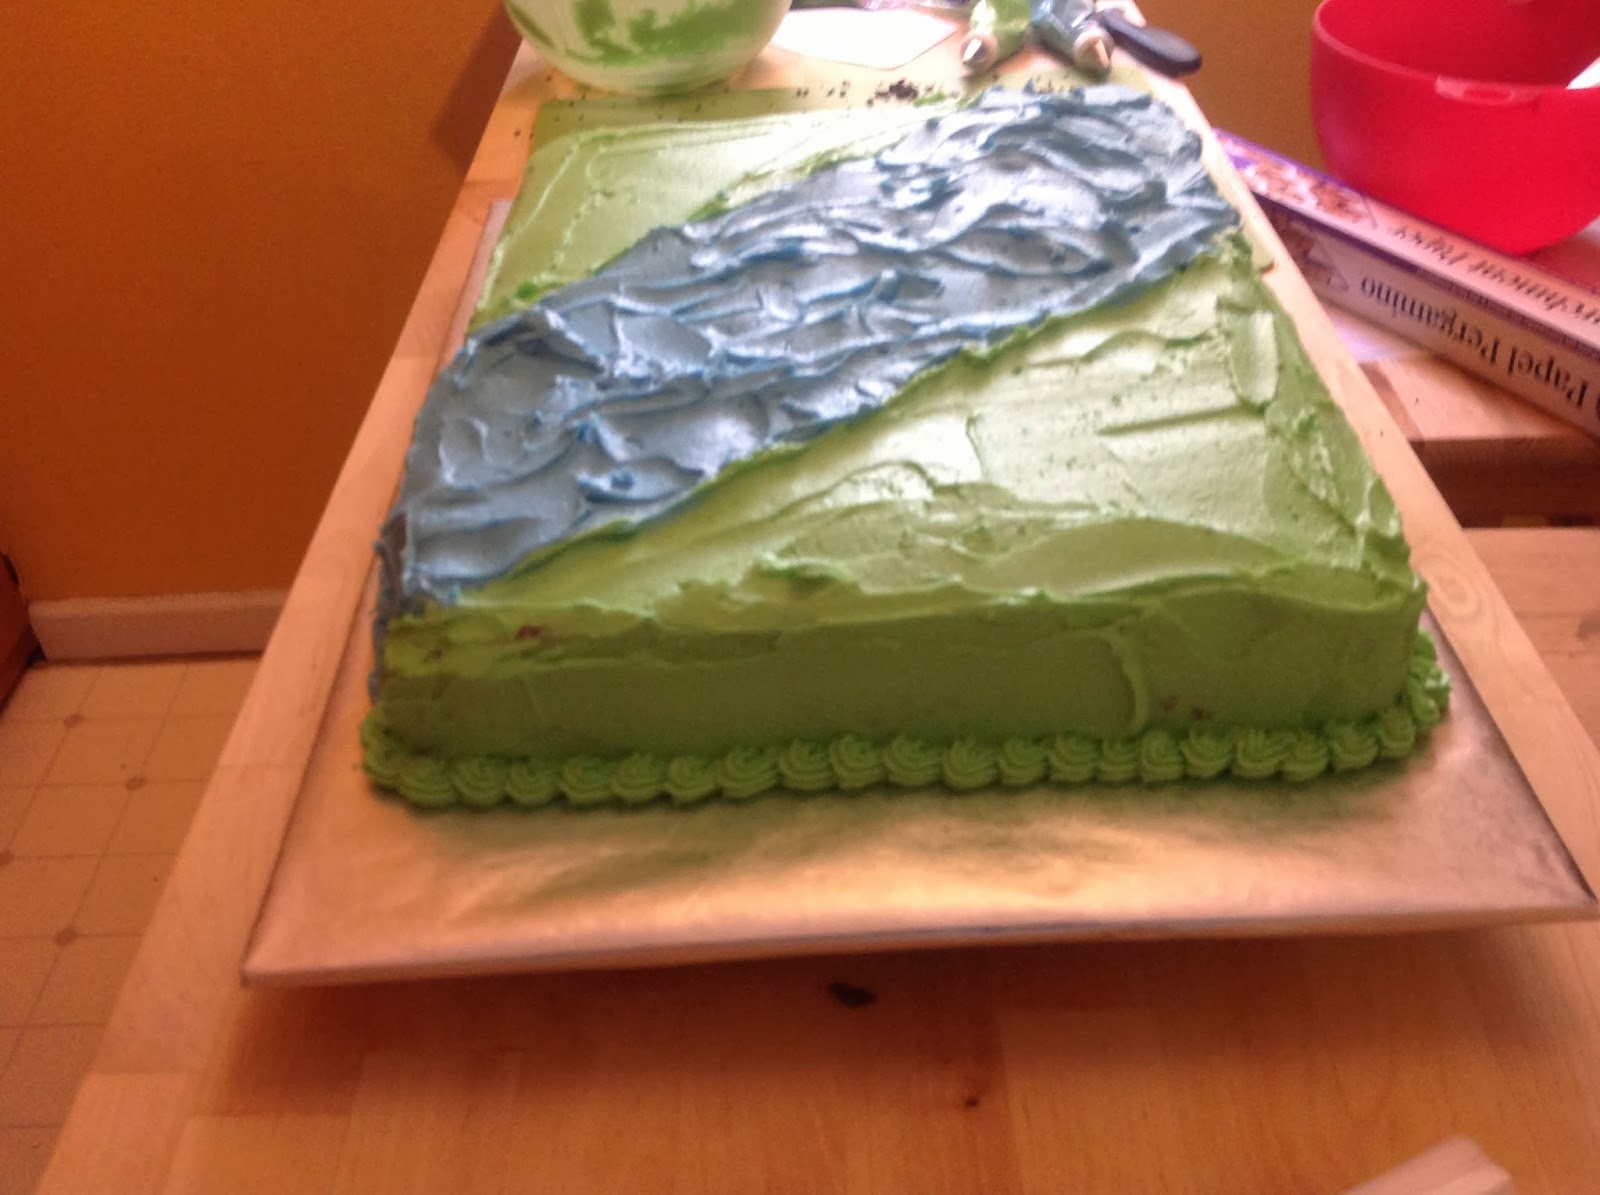
Finally, I had to make the cake. Chocolate sheet cake, covered in green buttercream frosting with a lovely blue river down the middle.
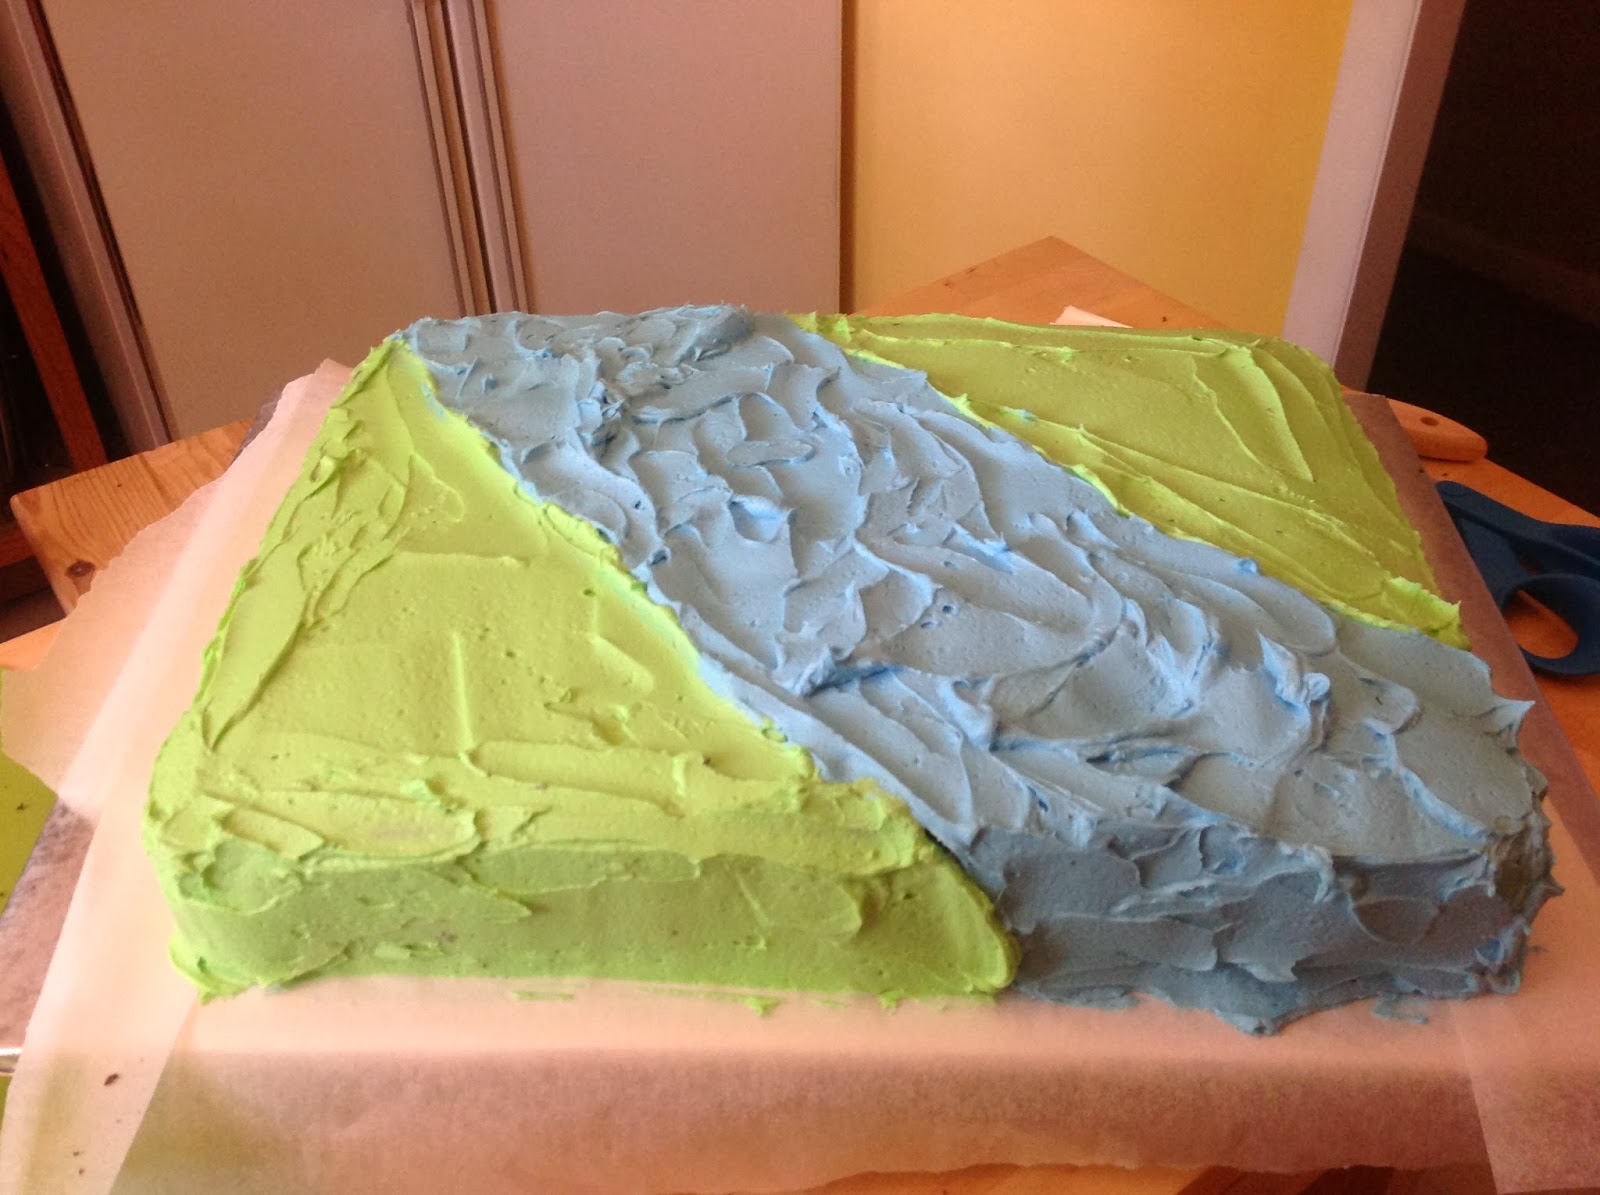
I always put parchment paper or aluminum foil under the cake when I'm frosting it. That way it keeps the cake board underneath clean and frosting free. Unfortunately, when I pulled out the parchment paper this time, some of the cake decided it wanted to come too.
 |
| This is not pretty. |
 |
| Front side. |
 |
| Back Side. |
WEDDING DAY
A hot day in July (at least I think it was July, it's been so long, I could be remembering incorrectly). I loaded everything in my car, cranked up the air conditioning and prayed that none of the fondant would melt. I headed to the reception hall where my trusty assistant, Rachel (she helped me with my first wedding cake), helped me unload the car. She took pictures while I finished the cake. She also continued to reassure me that I would finish in time and that the figures would not fall off the cake. The people who made the wedding cake were there too and that was kind of fun as we both were working to finish.
I added some rocks along the side of the river and then the boat with the people in it.
 |
| You can see "Laura's" head in the plastic wrap on the table there. |
 |
| And "Joel" looks like he is sliding down into the boat . . . |

And "Laura's" head. Tense moment . . . Would it stay?????
 |
| It held. Whew. |


And I was done! So cute!

The problem was that the wedding reception was outside. So I would still have to move it after the wedding ceremony. And it was very hot. And I was worried that the fondant would melt and the bodies would fall over.


Solution? Take lots and lots of pictures so there is evidence that it once looked awesome. Just in case.


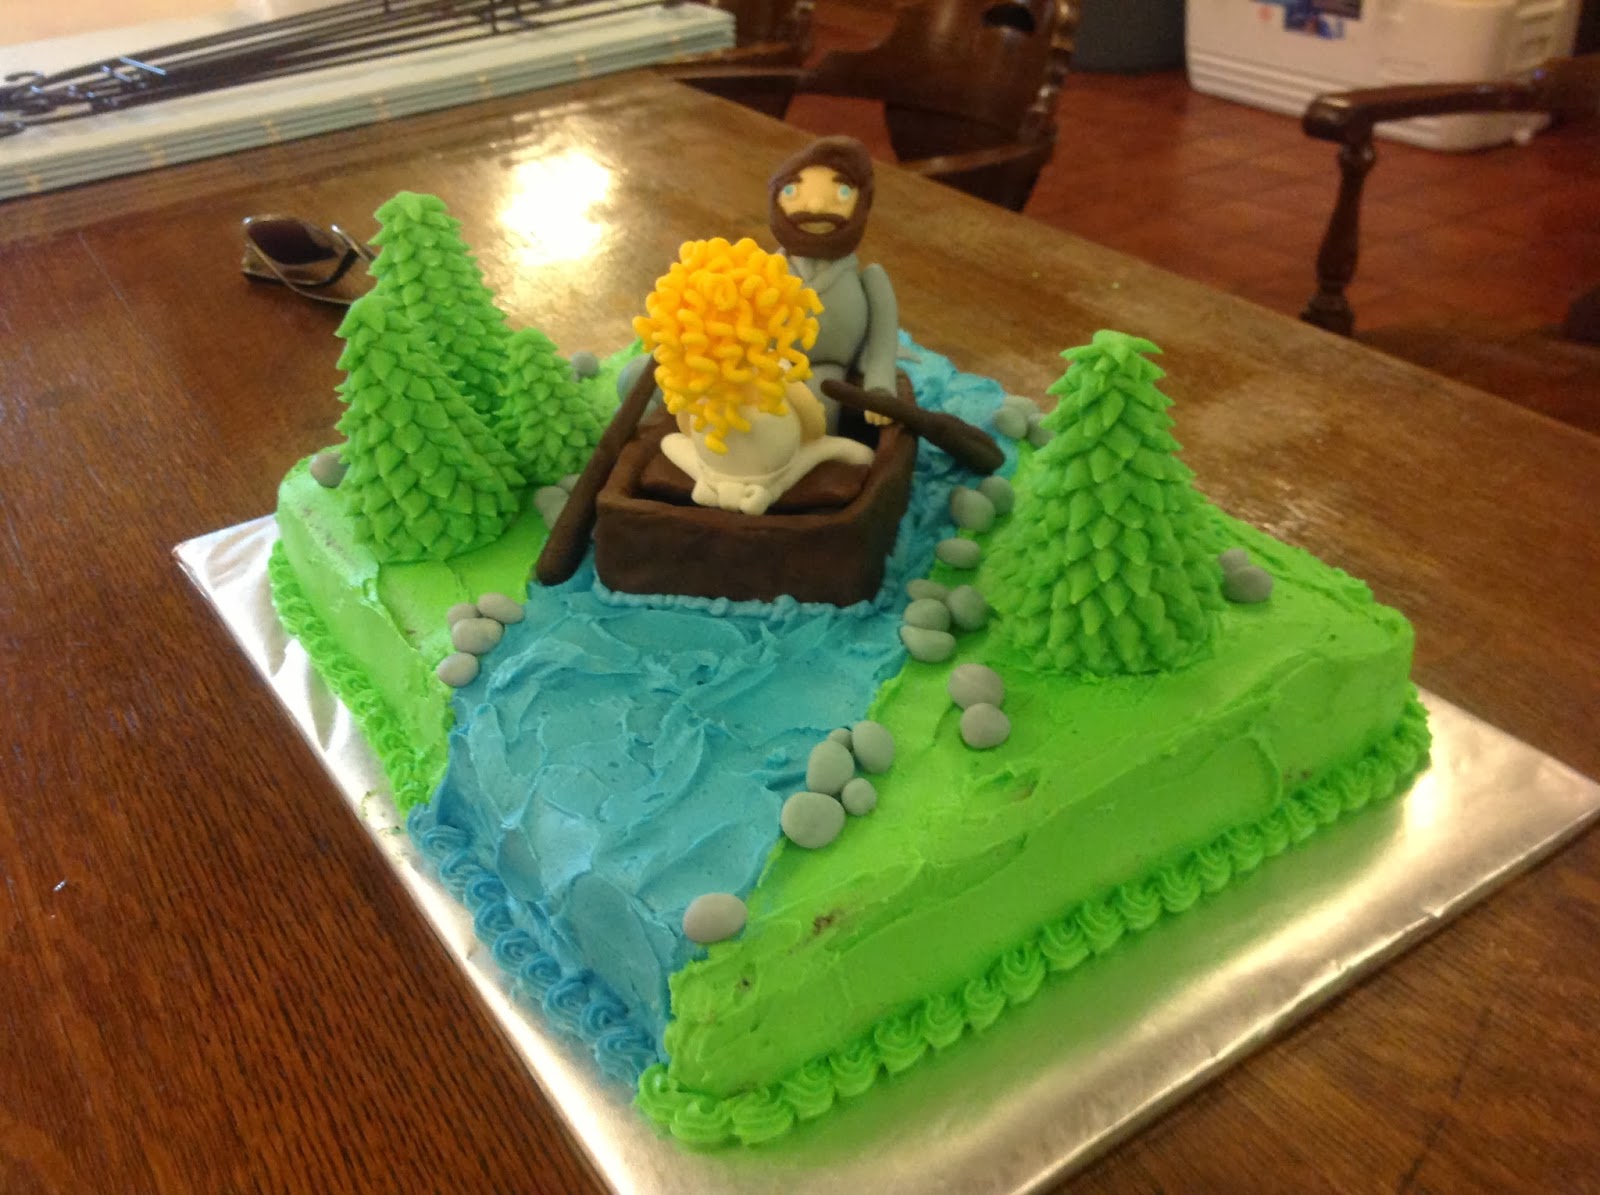


So the cake survived the journey from inside to the table under the tent. Here it is displayed along with the wedding cake.
 |
 |
| Look Ma, no hands! |
 |
| You can see here that even the oars are melting and bending. |

And although a little bit of hair fell off into the water - Laura never fell off the cake.

I know that's hard to believe - especially with this picture. But she hung in there the whole time! Joel, on the other hand (haha), did topple out of the boat. But just the top half, leaving his legs sitting on the bench. I was able to plop him up again, but that's when he lost his arms for good. I guess he wanted to go for a swim to escape the heat. Or maybe Laura pushed him . . . .
So the cake (basically) survived until it was cut. It turned out great, but I would do the people a bit differently the next time.
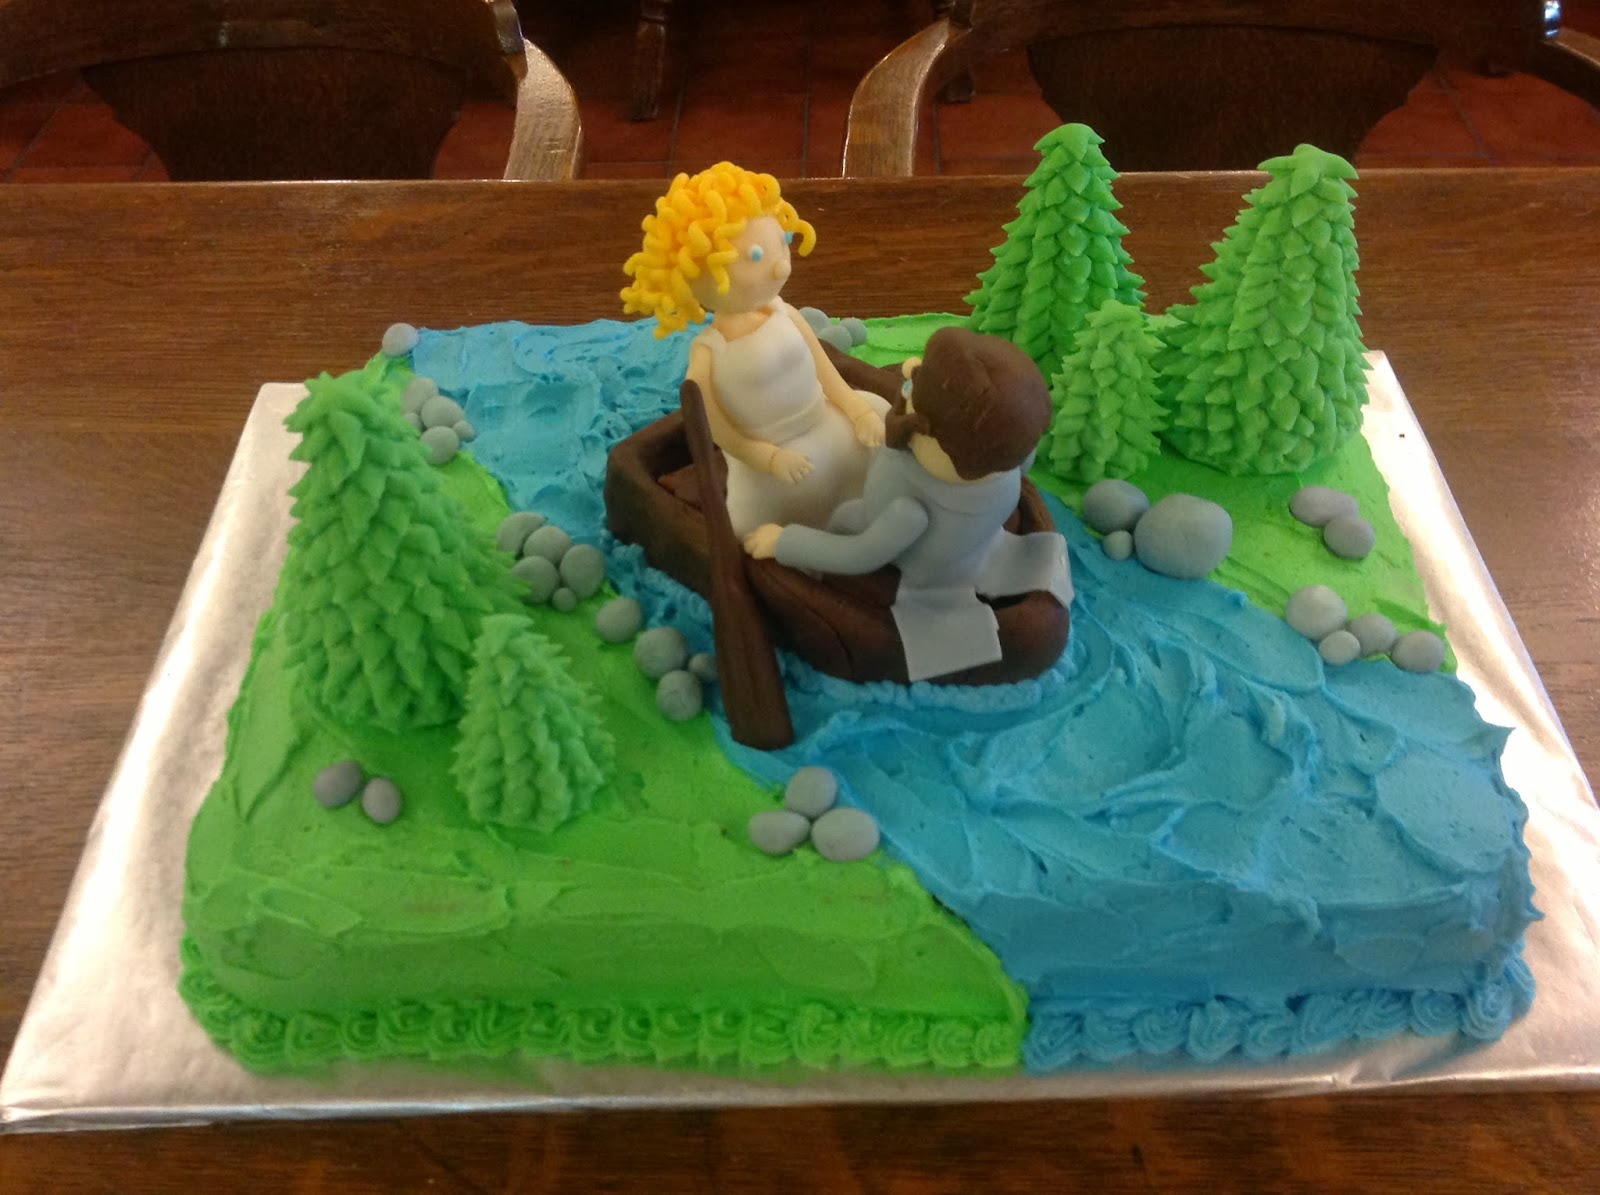
Congratulations Joel and Laura! Thanks for letting me be a part of your special day. I love you Roomie!