Somewhere over the rainbow . . . .
Ahh, that iconic song. Who doesn't love the Wizard of Oz? In 2015, my niece definitely loved it. She was Dorothy for Halloween and many times the Halloween costume is indicative of the desired theme for the birthday cake.
But how to do justice to the Wizard of Oz?
There are so many fantastic Oz cakes out there. Just google it and you will see what I mean. But I was also trying to keep the difficulty level to a medium (hahaha) and also not make so much cake that we'd be eating it for a month.
I knew I had to have Dorothy. I've been getting better at fondant figures, but I still have issues with balance and making them look realistic (or realistic cartoons). I needed flesh color, blue, and brown fondant.

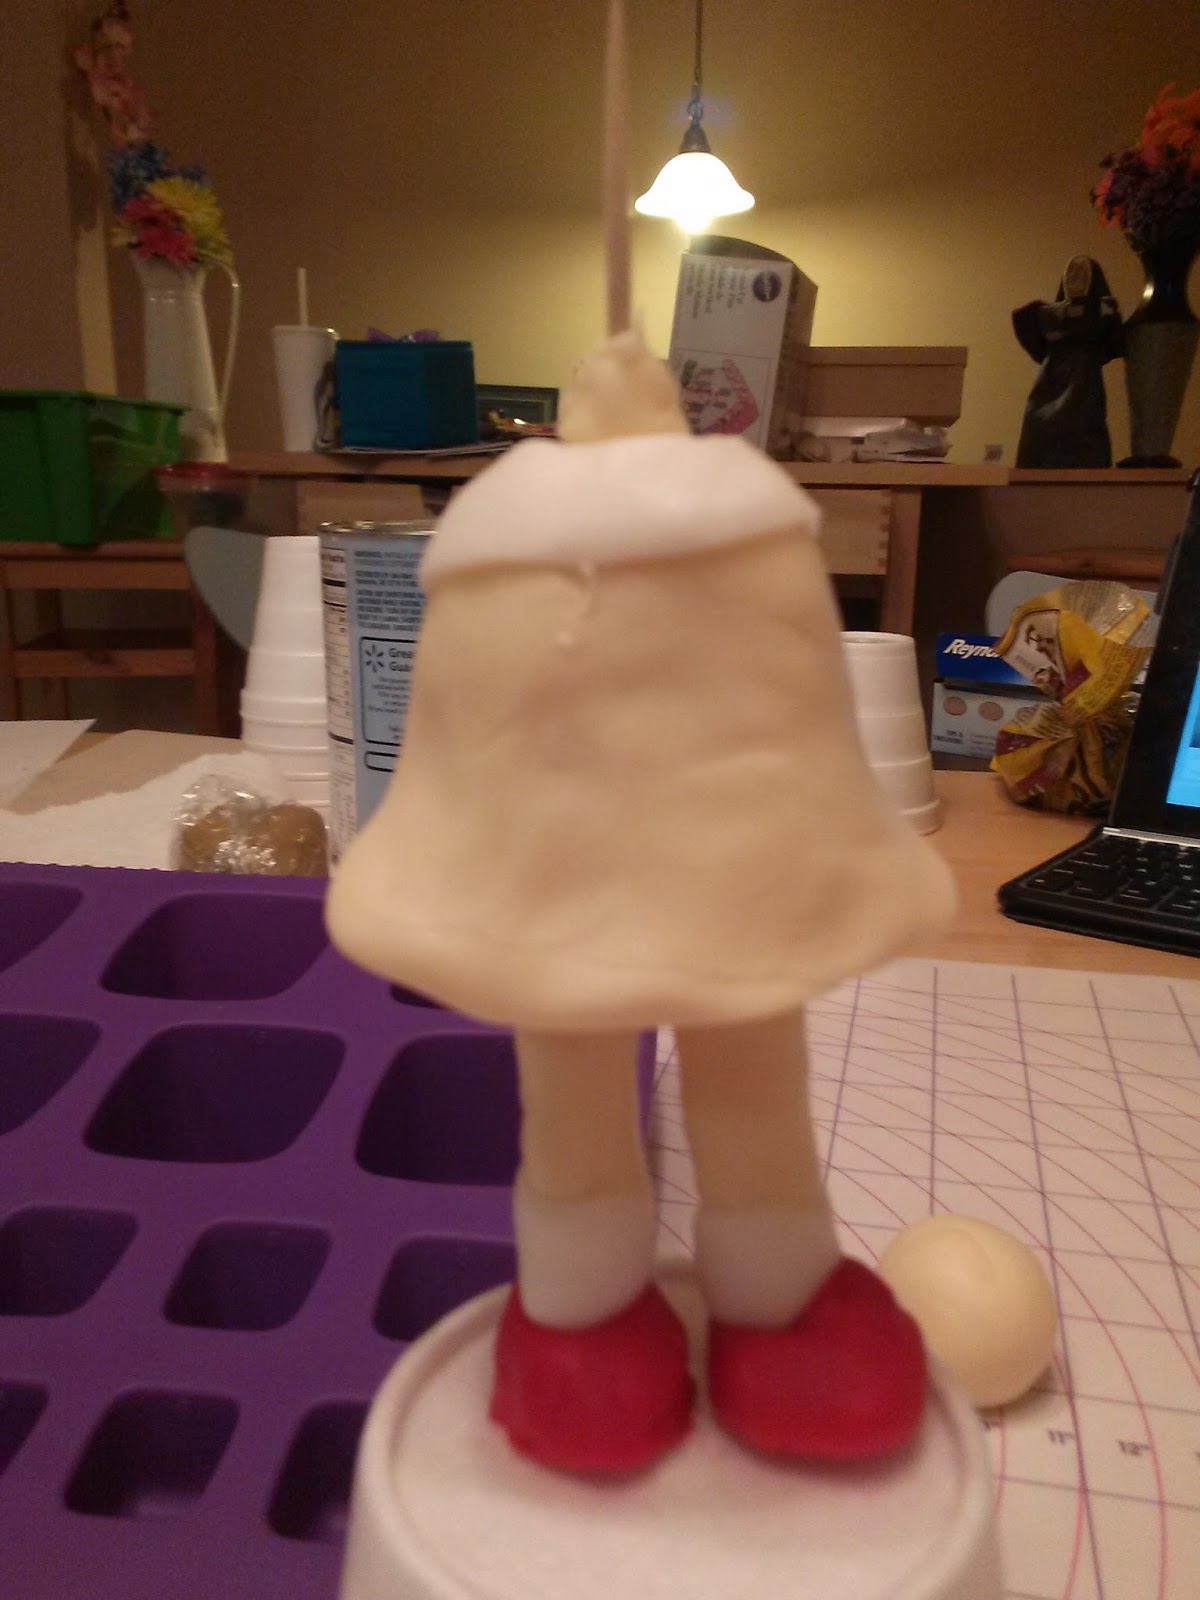
I started with the body and legs. I made a fleshy "body" and added it to the legs, with ruby slippers on the bottom of the legs. I added a white color and white socks. You can kind of see the neck on there as well.
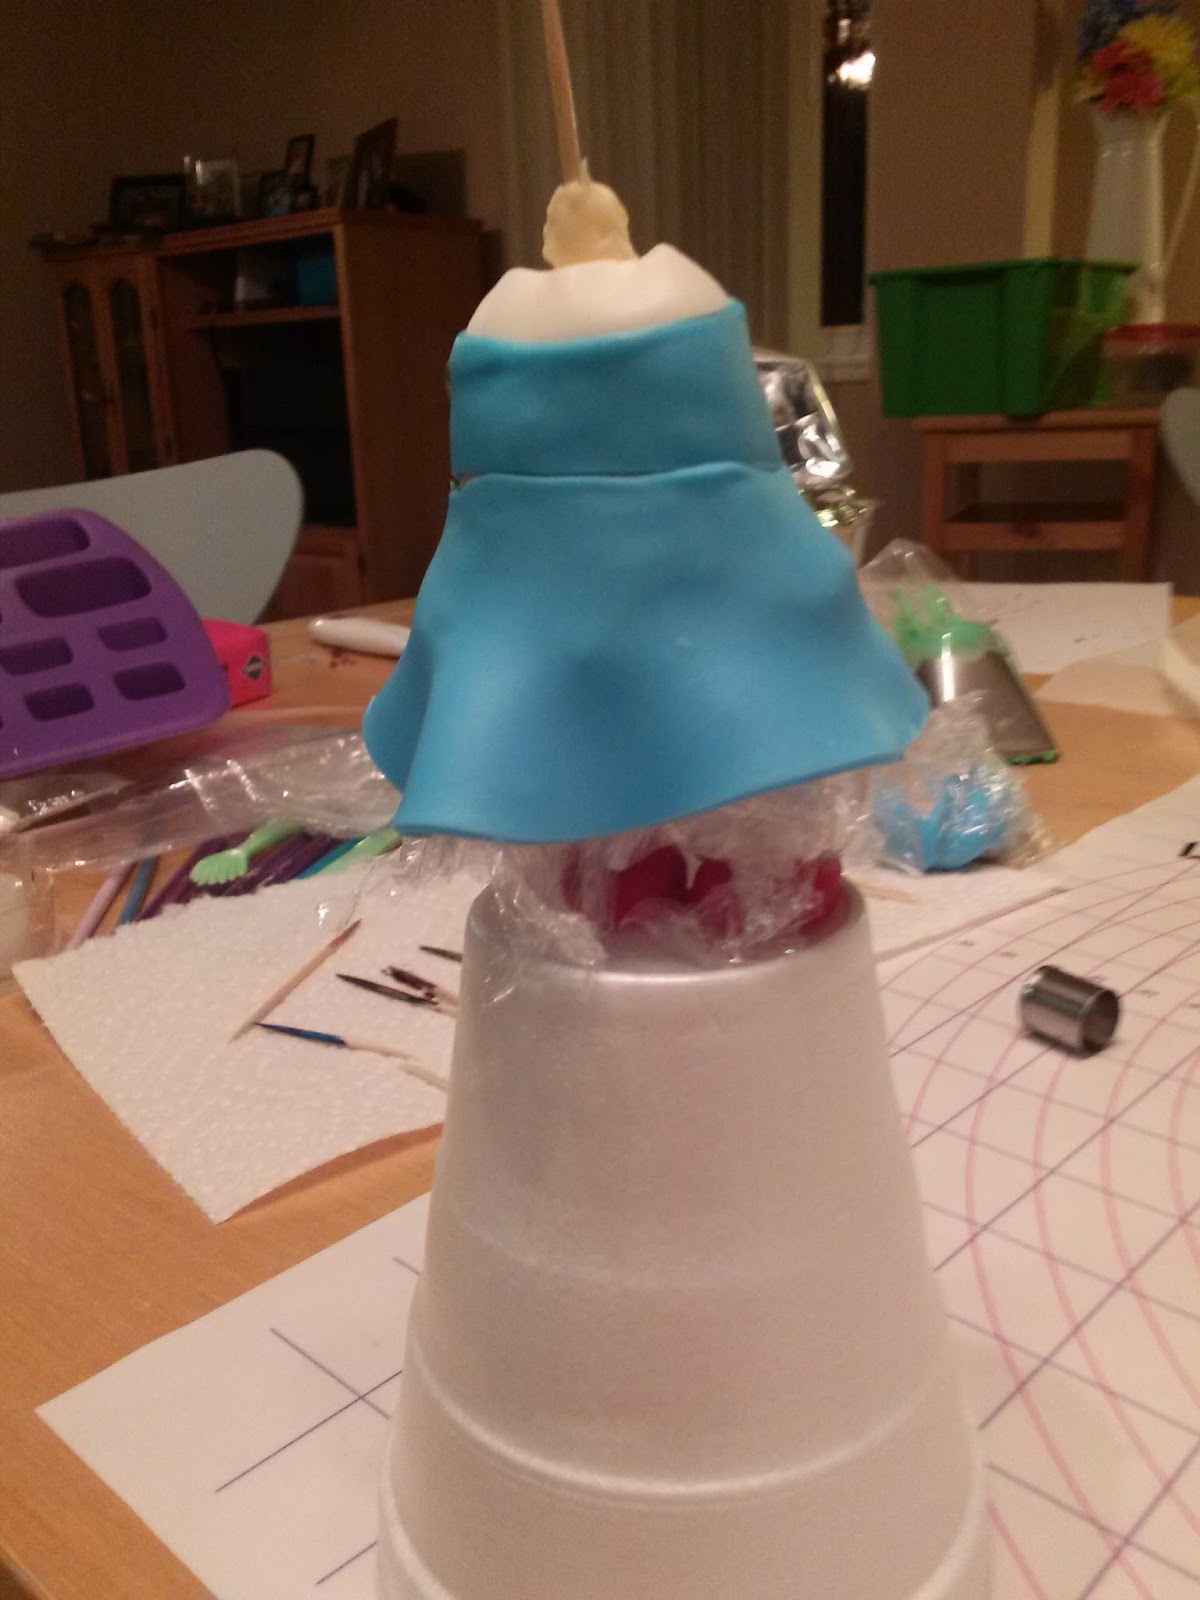
Next I added the pieces of the blue dress.
I made the arms with the sleeve attached.


The the straps of the jumper and the belt were added. Next the arms went on.

But Dorothy still needs a head. I hate making hair. It looks like it shouldn't be that hard, but it is a NIGHTMARE. For this one, I did a brown piece on top of her head. Then I added a little bit for her bangs in the front (also to cover up the horrible looking piece I put on first). I used a tooth pick to make the curls, wrapping the thin rolls of fondant around them and letting them dry just long enough to hold the shape.
I attached the ears and then used gum glue to stick the curls on. I was terrified that they wouldn't stay on, but they held. Finally, I made to small blue bows and glued them on to the spot where the curls met the base hair, looking pretty and covering it up so you can't see the seam.

If you are going to make a Dorothy figure, then you probably should have Toto too. I made him out of black fondant. Don't try to make black fondant - it's impossible and you will get super frustrated. Just buy it.
I also had to make the Wicked Witch of the West. She was a little different - I didn't make any legs or feet for her. I just took a blob of black fondant and covered it with her long, flowy dress. Then I added her arms and green hands.

Next the head went on (I love the nose!) and the iconic black hat. The last detail was the broomstick.

For the cake itself, I started with a large, green, sheet cake.

I wanted to include the yellow brick road, because, of course! I also have this texture mat for a brick pattern that I wanted to try out. It worked pretty well and I had a nice yellow brick to make the road pattern.

Once I put it on the cake, I covered it with some gold petal dust to make it shiny,


I tried out several new toys with this cake - I have a house cake pan that I haven't used yet. So I made a house cake to be Dorothy's house after being dropped in Oz by the tornado. I made the house a non-descript color, since it was from Kansas and not Oz.

Then I piped on some details.

Next I piped, Happy Birthday, Elisa, in the corner.


I added a grassy border and some grass around the house.

But you can't have the house without having the squashed Wicked Witch of the East! I made the black and white legs using my smallest round cutter. I cut out a bunch of thick, white and black circles, then glued them together with glum glue, alternating the colors. Finally, I bent the ends so it looks like they are starting to roll up. The shoes of course are already on Dorothy's feet.

Now I just had to position everyone on the cake. I attached Dorothy's head to her body and put Toto next to her on the cake.


Side view of Dorothy.

The WWW got her spot on the Yellow Brick Road.

The WWE's feet went "under" the house. This is kind of my favorite part of this cake.

This looks like an action shot. They are getting ready to rumble! It's also a nice view of the back of Dorothy's hair.

A nice aerial view.

A few more different angles.


It really looks like the house fell on top of her. Or that the house sprouted a pair of legs . . .


Nice side profile of the WWW.

Happy birthday (a bit late) to my beautiful, compassionate, sweet niece Elisa!


